How to Set Up Your Retailr Media Box
Step 1: Unbox the Media Box
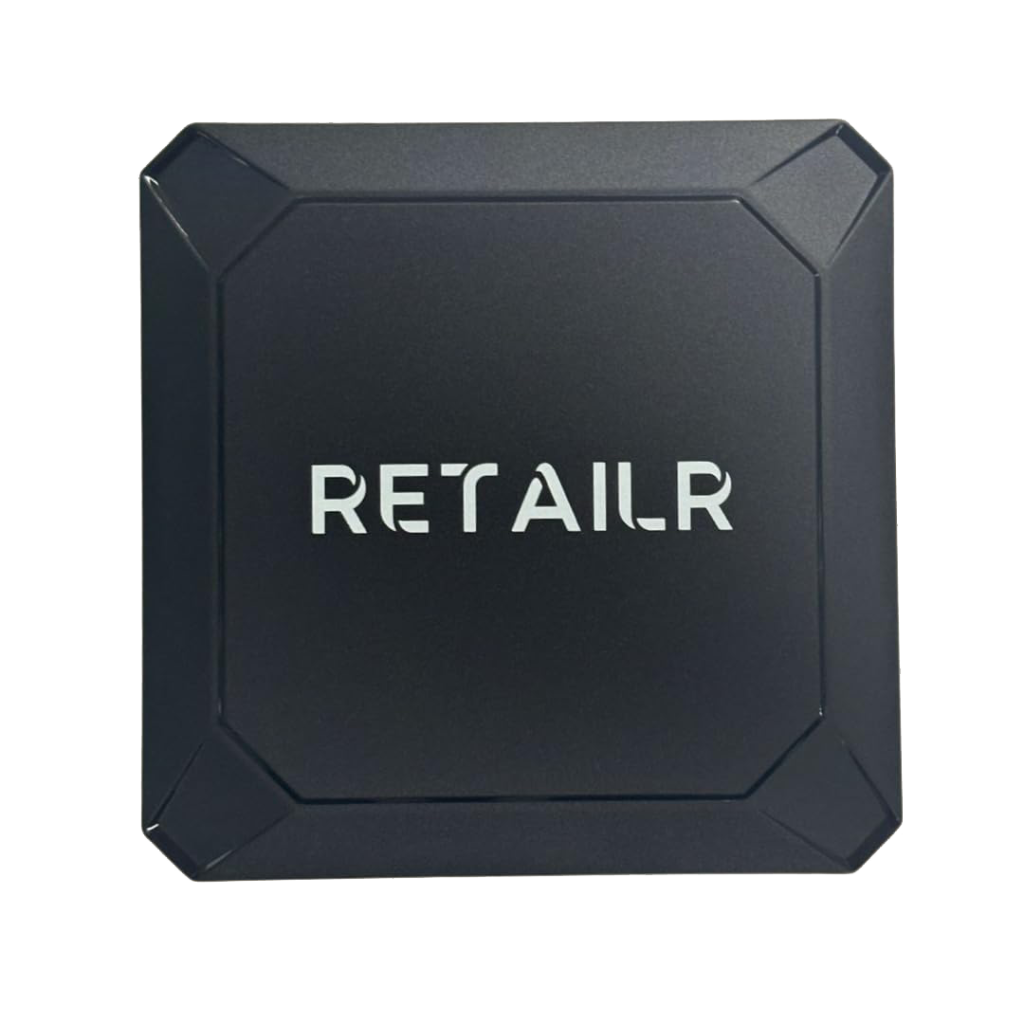
Begin by opening your Retailr Media Box package carefully. Inside the box, you will find all the essential components required for installation:
- Media Box
- Power Adapter
- HDMI Cable
- User Manual
Step 2: Connect the Hardware
Follow these steps to connect your device:
- Connect the HDMI cable from the Media Box to your TV or display screen.
- Plug the power adapter into the Media Box.
- Turn on your TV and select the correct HDMI input source.
- The Media Box will automatically power on once connected.
Step 3: Connect to Wi-Fi
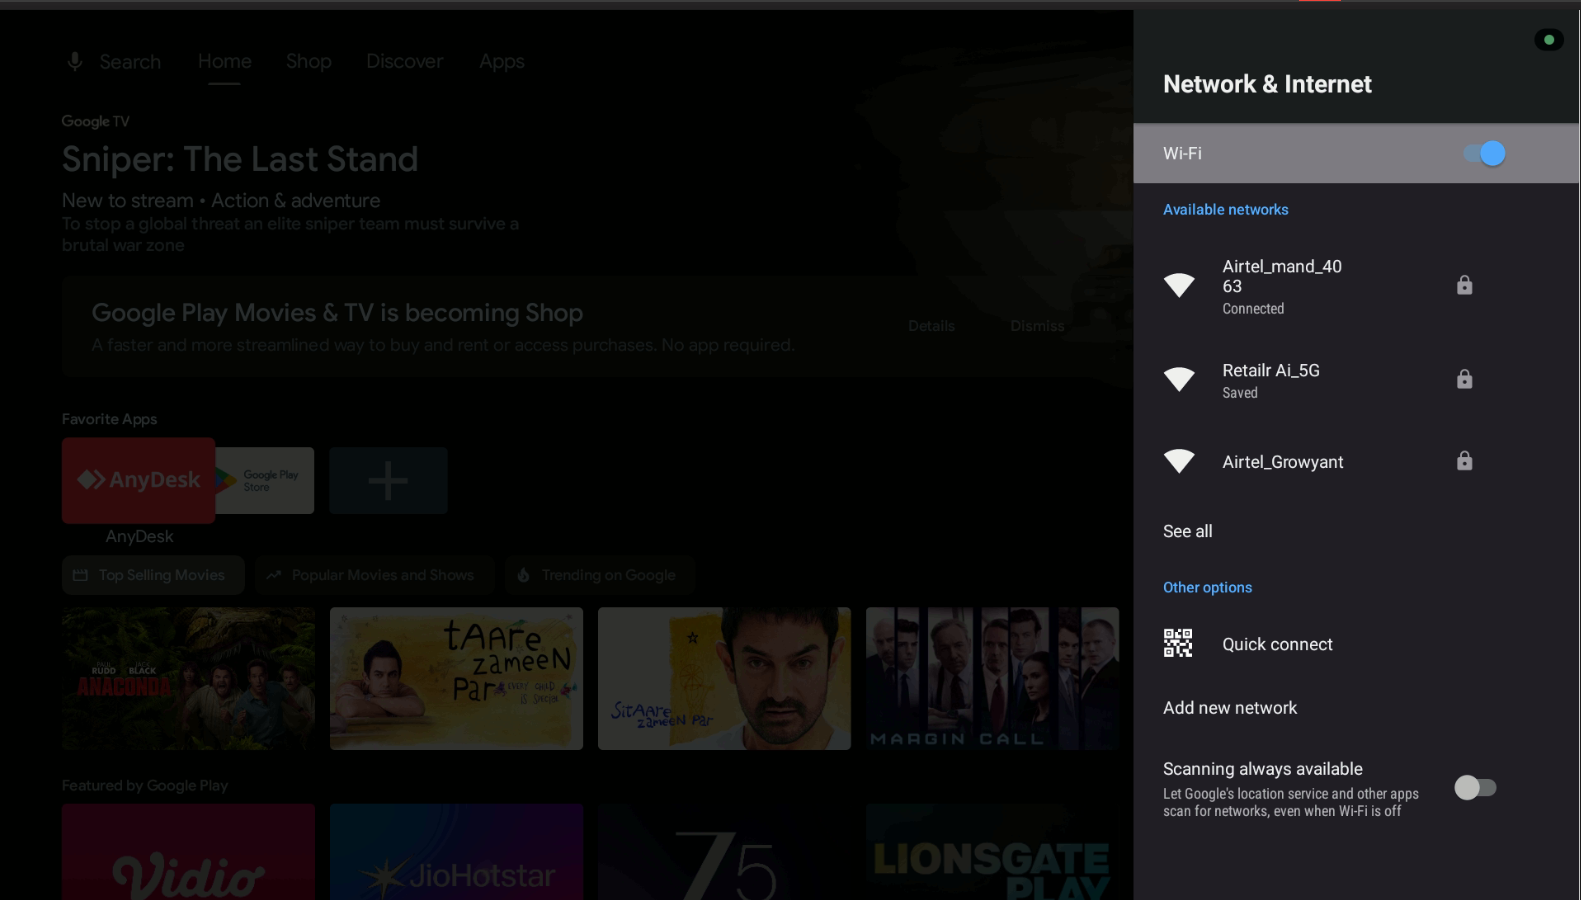
When the Media Box starts for the first time, you will see a “Wi-Fi Not Connected” screen.
- Use your remote to open the Settings (⚙️) menu.
- Navigate to Network / Wi-Fi Settings.
- Select your Wi-Fi network.
- Enter your Wi-Fi password.
- Once connected, return to the home screen.
Step 4: Access the Retailr Home Screen
Press the Home or Retailr button on your remote control.
You will now see the Android TV home screen displaying available applications, including the Retailr app.
Step 5: Update the Retailr App (Recommended)
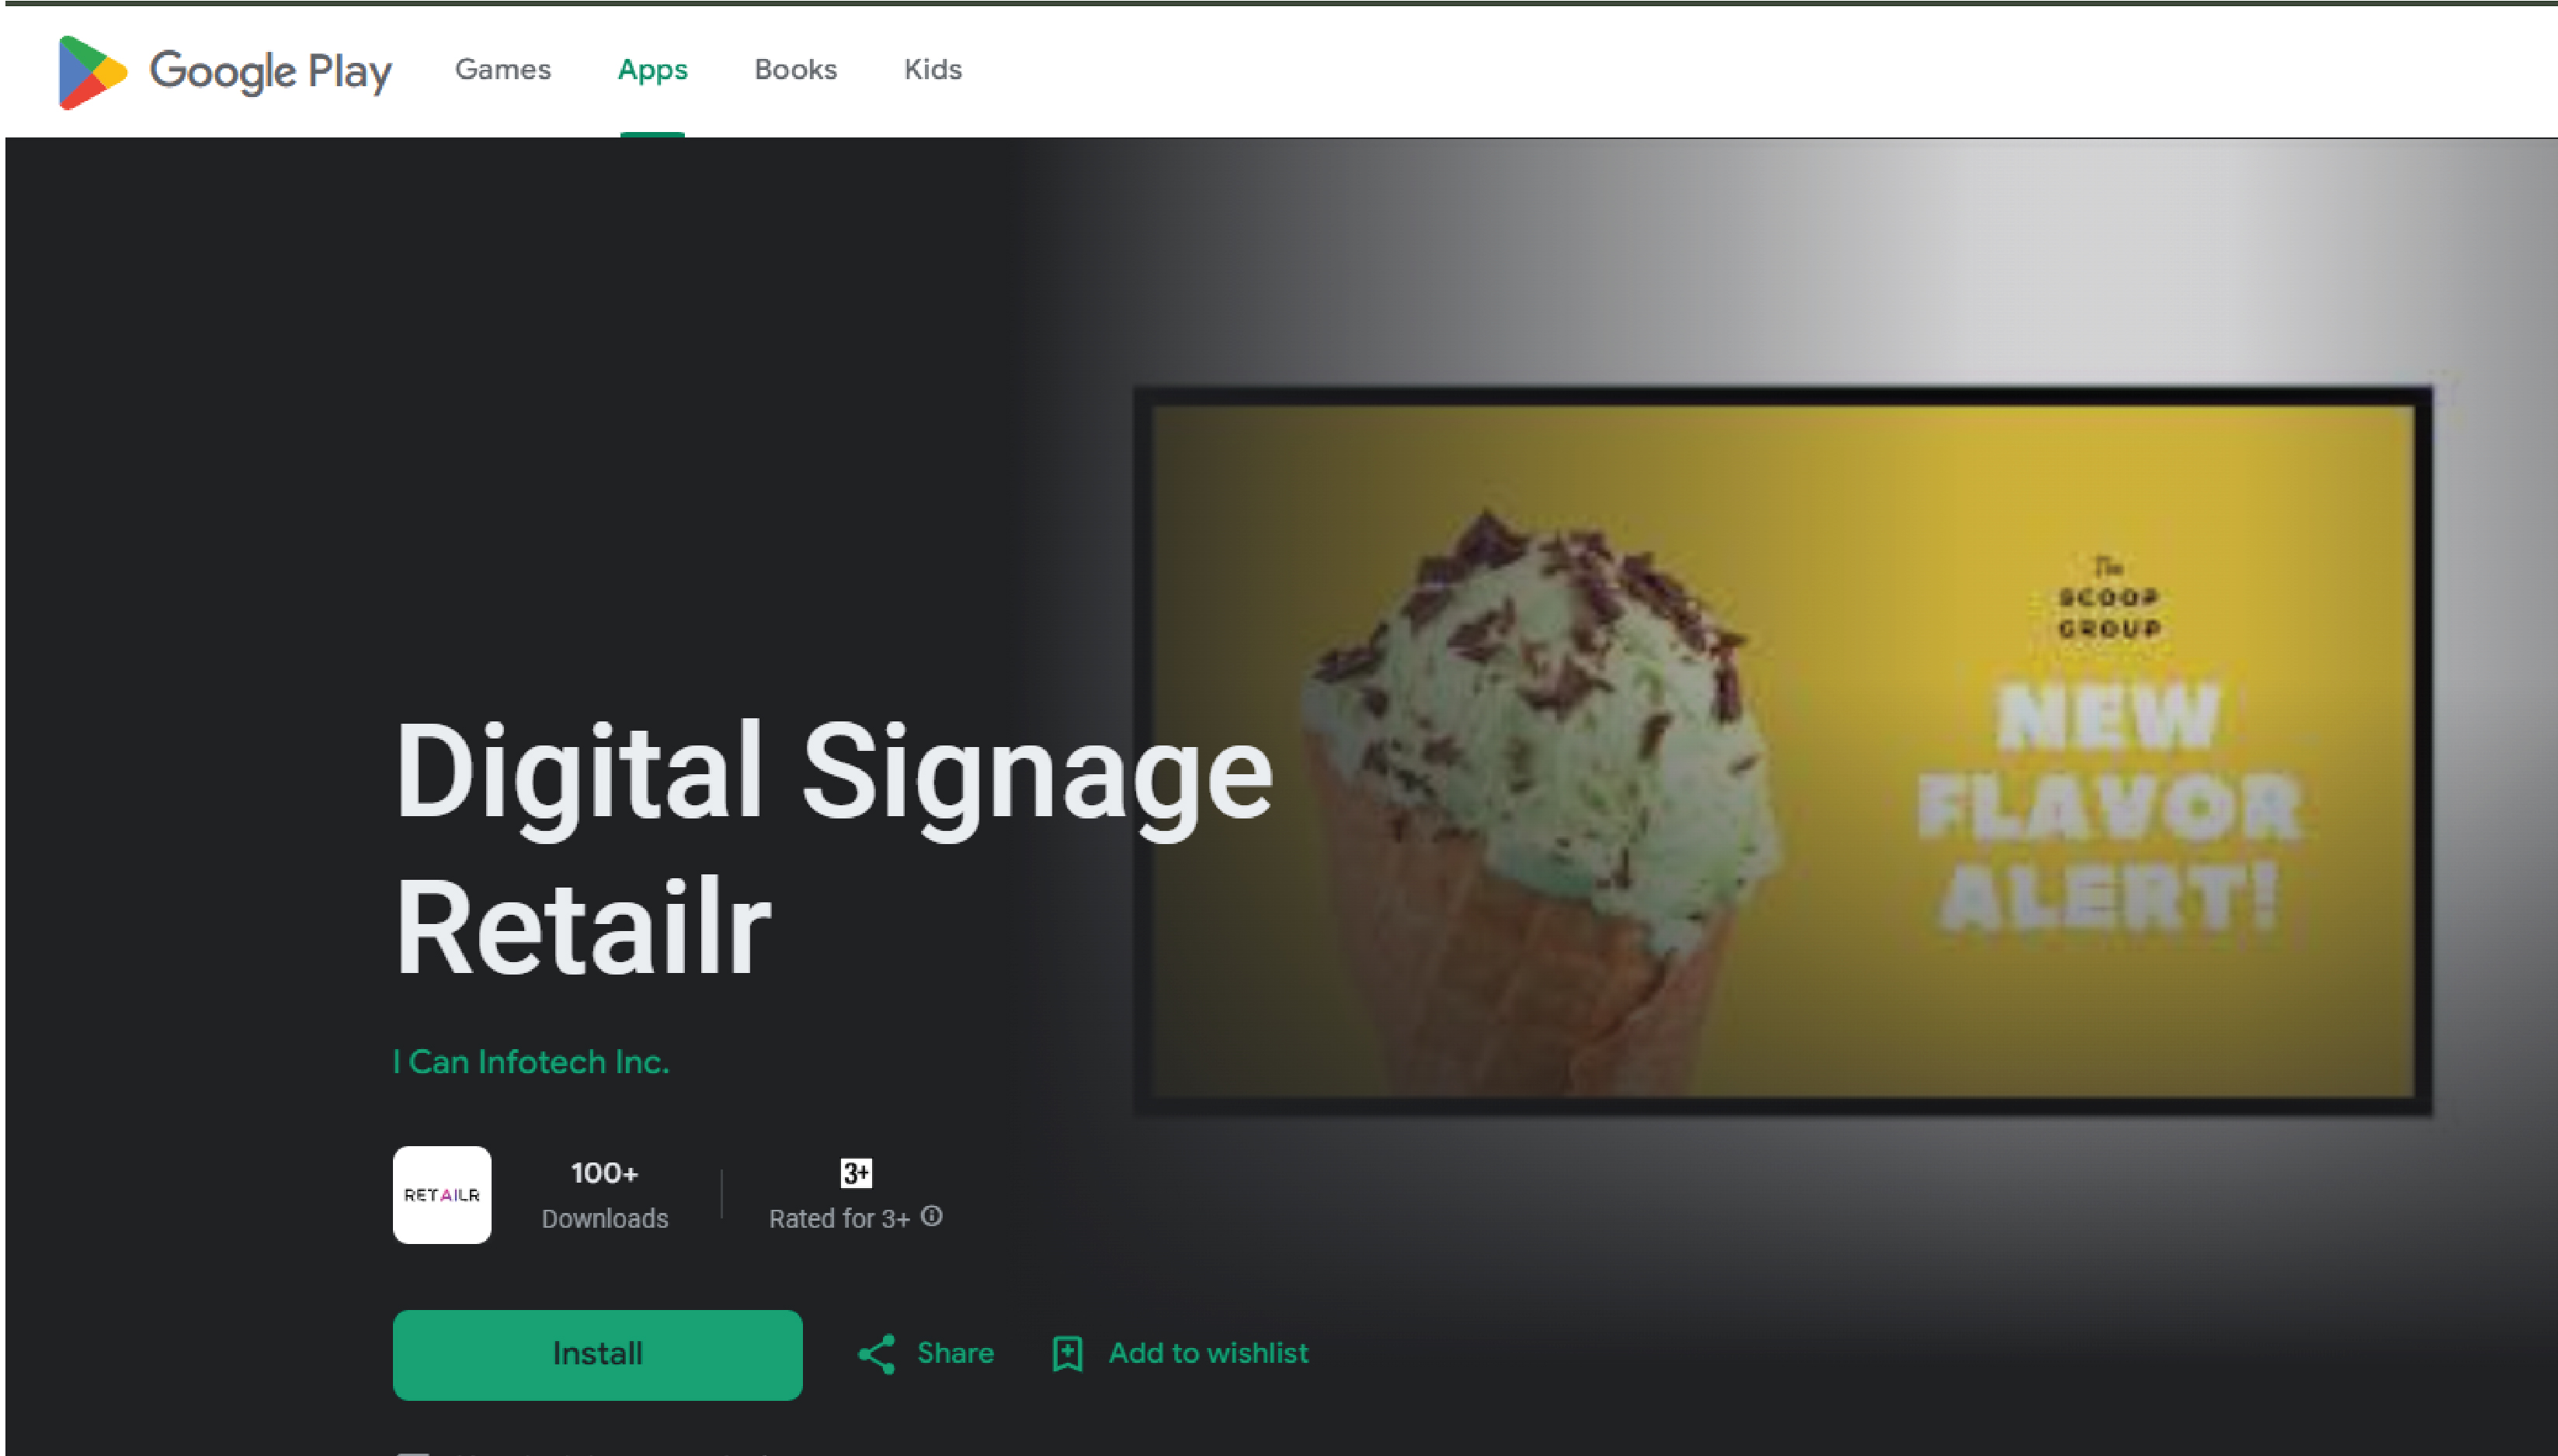
Keeping your app updated ensures better performance and new feature access.
- Open the Google Play Store from the app list.
- Sign in using your Google account.
- Search for Retailr Digital Signage.
- If an update is available, tap Update.
- If the app is already updated, tap Open.
Step 6: Get Your Screen Code
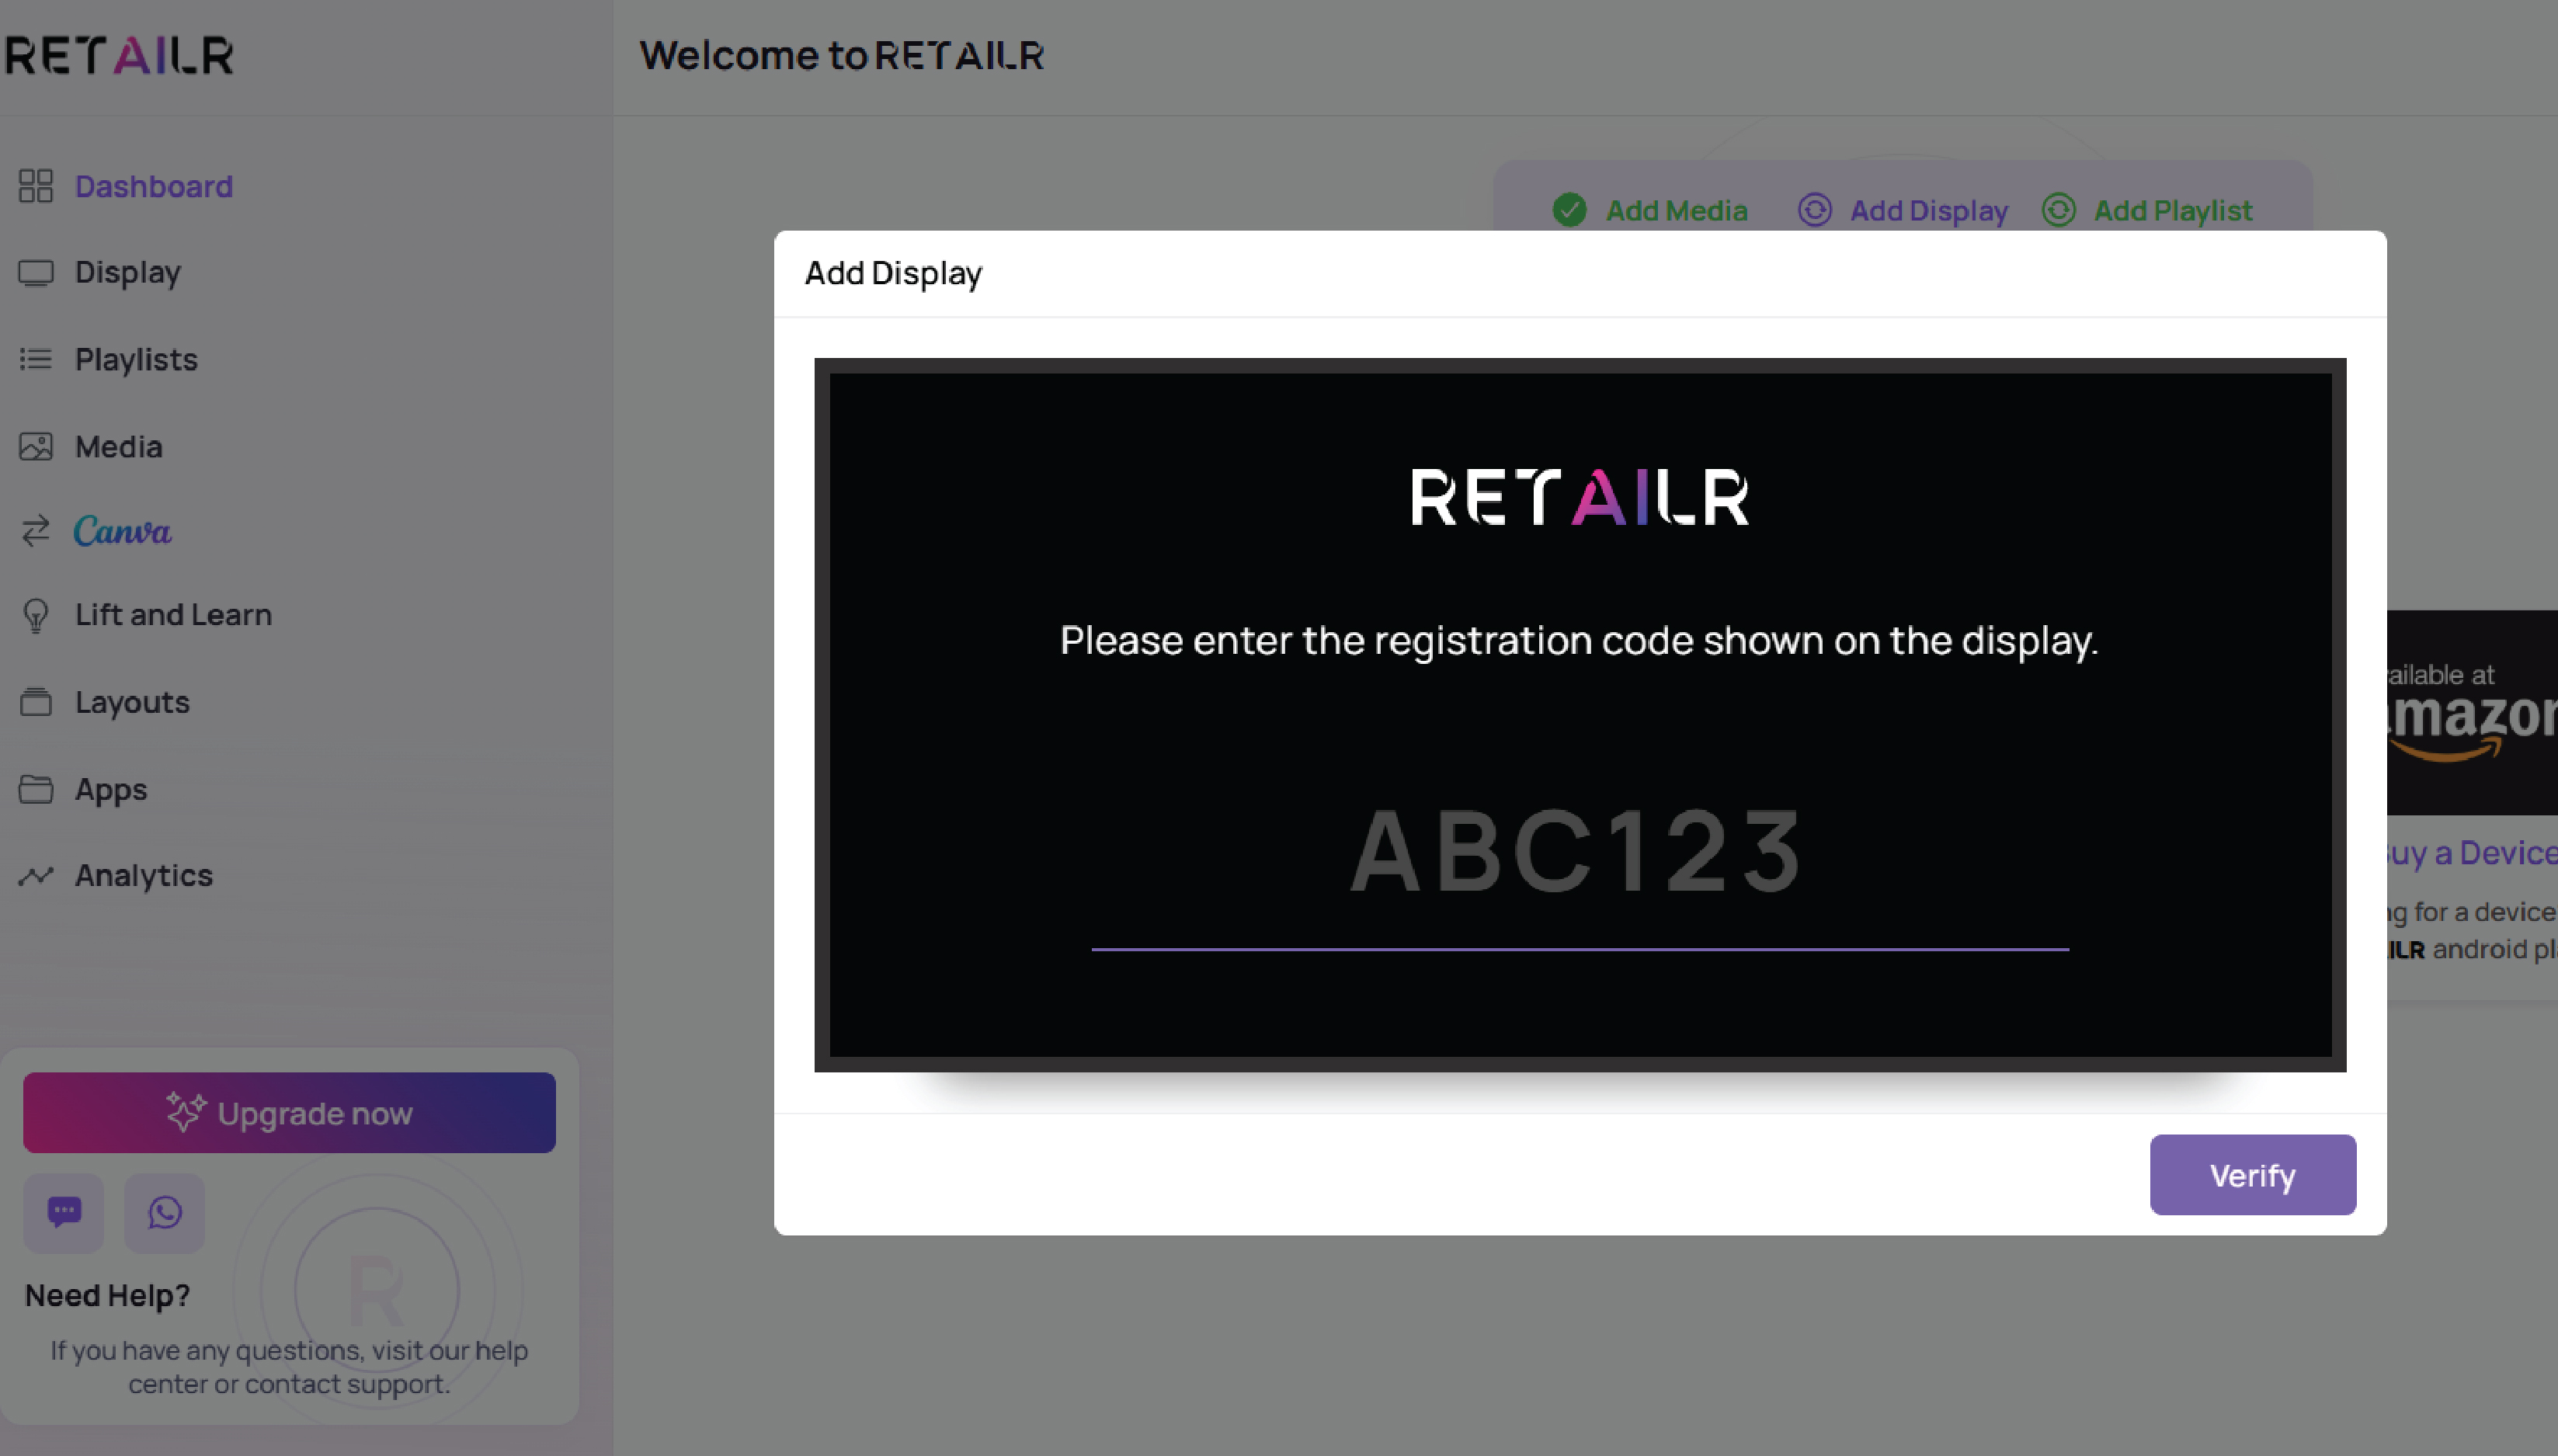
After opening the Retailr app:
- A QR Code or Screen Code will appear on your screen.
- Keep this screen open as it is required to link your display to your Retailr account.
Step 7: Log In or Create Your Retailr Account
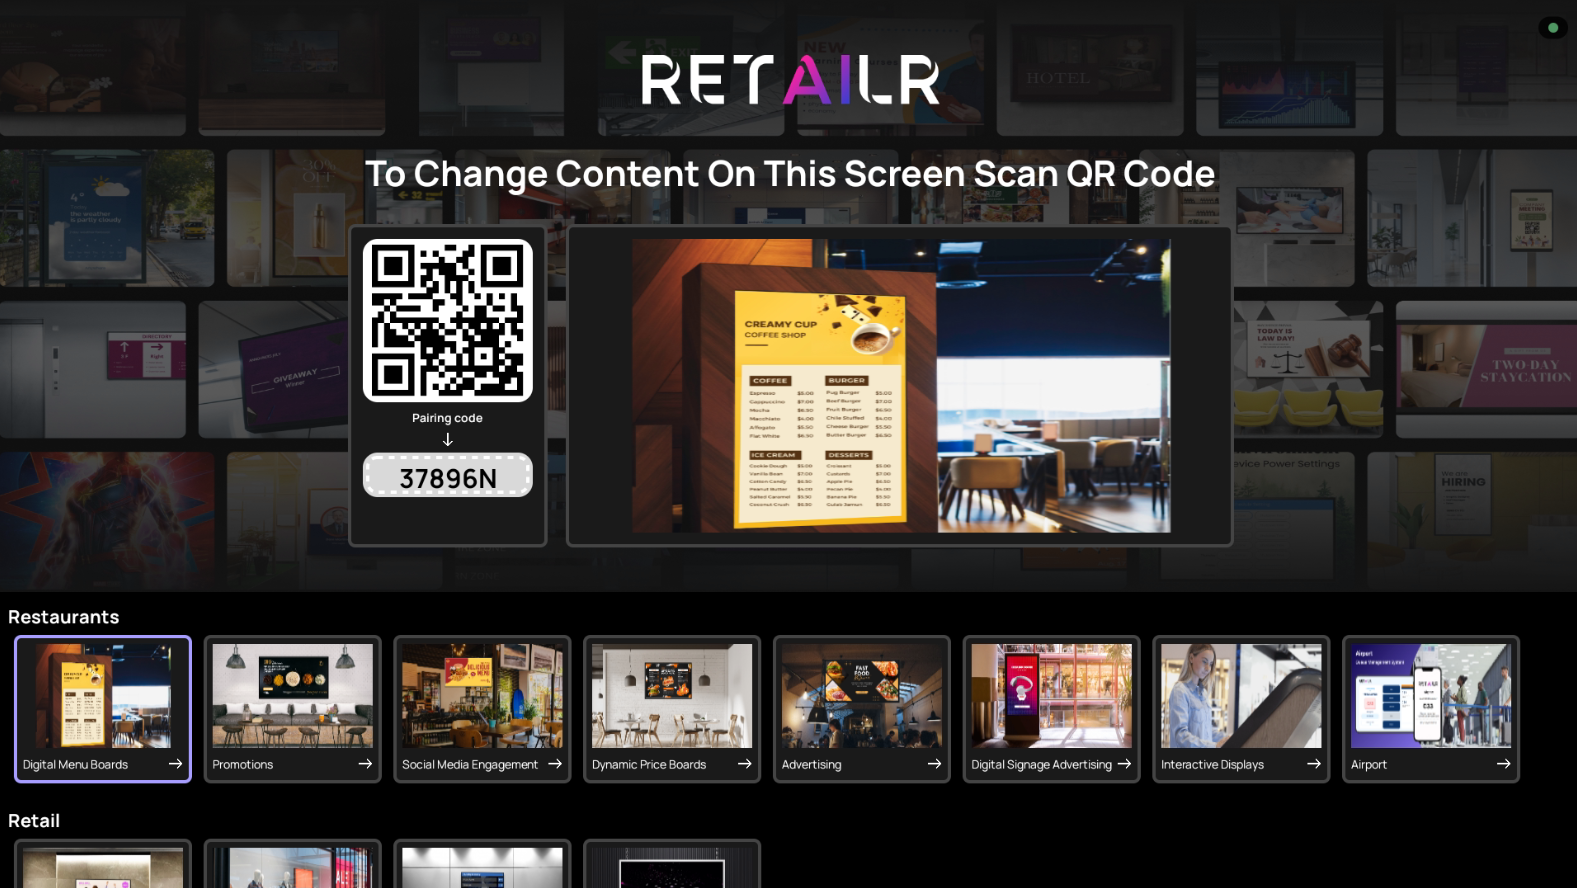
Using your mobile phone or computer:
- Visit retailr.ai or download the Retailr Content Management App.
- Create a new account or log in to your existing account.
- Select your business category when prompted.
Step 8: Select Your Business Type
Choose how you want to use your display screen:
Storefront Display
Show promotions
Display advertisements
Play videos and images
Queue Management
Display live queue updates
Show token numbers
Manage waiting status
Step 9: Add and Pair Your Screen
Complete the pairing process:
- Enter the number of screens you want to manage.
- Add your display screen.
- Enter the Screen Code shown on your TV.
- Your screen will pair automatically and be ready for content display.
Your Digital Signage is Now Ready!
You can now upload content, schedule promotions, and manage your display remotely using the Retailr dashboard.
